I’m so excited to show you my new hand sewn quilt!
My mom is getting older, and has been ill for the last few years. Because of this, I wanted to make this upcoming sewing project extra special.
As her birthday approached in September, I wondered what I could make her for a present. Having my sister Donna being her full-time caregiver, and my other sister Tonya helping out too, most things are done around the house (so there aren’t many things she needs)
After a few weeks of racking my brain, I decided a quilt was in order. I went to my go-to place for ideas (Pinterest) and began looking. I wanted something that would show her that she has a ton of people that love and care for her.
After a little while of searching, I found the perfect idea: a family tree.
I figured out my next steps and, with fabric in hand, began this project of love for my mother.
Step 1: I selected my background fabric (a white-on-white pattern looking somewhat like clouds), and the tree fabric (which looks like tree bark). I cut out the bark and placed it where I wanted it to go on the white fabric.
Then, I applied “Wonder Under” – an iron glue – to stick it firmly in place. It ended up looking exactly as I wanted it to.
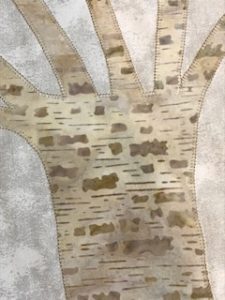
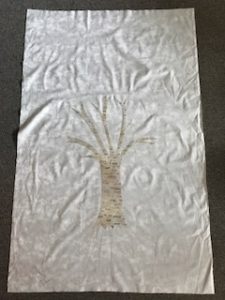 Step 2: I then sewed around the outline of the tree with a blanket stitch. This added subtle detailing and ensured the tree stayed in place.
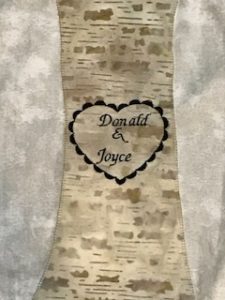
Step 3: I looked online and found the perfect phrase to add to my quilt, as well as a heart with my parents’ names in it. I machine-embroidered these on with my fancy sewing machine, and took a look at my handiwork. I loved it!
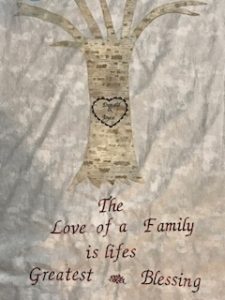
Step 4: Now I wanted to make sure the names of our whole family were on it. These included my mom’s three daughters, seven grandkids (and their spouses), and 12 great-grandkids.
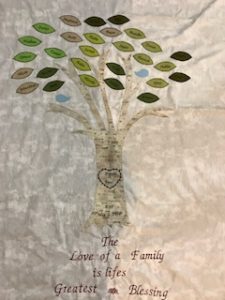
I wanted her to be able to identify which children belonged to whom, so I grouped them each family together – each daughter with her kids and grandkids – and put these families in different colored leaves.
I machine embroidered each name onto a leaf, and applied them to the quilt the same way I did the tree. I also blanket-stitched each leaf (like I did the tree), but with black thread to make them stand out.
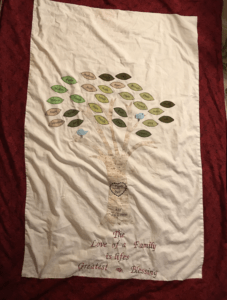
Step 5: I chose very soft minky for the back – this is a very soft fabric similar to fleece, but is softer and thicker. I also found a red border to go around it, since that’s Mom’s favorite color.
 I decided not to stitch the minky into the quilt, as I knew doing so would bunch and tear the delicate fabric.
Here’s how it looked when all was said and done:
Note: I completed this project with the help of my baby lock embroidery machine – it has many fancy stitches! However, you don’t need to have a fancy machine to make a quilt or wall hanging like this.
Instead of a blanket stitch around the tree and leaves, you can do a satin stitch, or just a zigzag stitch. Whichever you choose, make sure to follow the directions in your machine’s book.
For the phrase at the bottom, you can use machine embroidery, or can sew it on by hand. You can also write the words using fabric pens. There are many ways to get the job done!
This project was very difficult for me mentally, knowing that my mom’s time here on earth is short. But, through it all, I was able to take comfort in knowing that this project had a very personal message: “I love you. WE love you. And we want you to know just how much.”
Sewing Tip: I have said this before, and I’ll say it again: homemade gifts from the heart are always the best. It may be tempting to purchase a present from the store, but in the end a homemade gift speaks volumes, and is so much more meaningful. Not to mention, the process of creating is fun enough to make it all worth it!
I’m not sure what my next sewing project will be yet – it will be a surprise!
Happy Sewing!
JoLene
